
If you are facing issues with your Realtek Wifi Adapter on your PC, don’t worry. This article will explain how to download and install the Realtek wifi driver for Windows 7, 8, and 10 and fix this issue on your computer.
Having a stable internet connection is important because many people’s work depends on it. However, there are different reasons why your internet connection is not working properly. It can be due to the new Windows version you installed on your PC or your network driver being outdated.
But, it can be easily resolved. This post will look at some of the methods to resolve the Wi-Fi problems on a Windows PC by keeping your drivers up-to-date with the best driver update software for free.
Fix Your Realtek WiFi Adapter Issues
After a Windows update, it might be possible that the new version has some bugs. Having issues like the “Wifi adapter not working in Windows10” is one of the common issues faced by many people. However, there are a lot of ways to deal with it. Here are some methods with which you can fix your wifi issues.
Download and Install Realtek WiFi Drivers Manually
Find your Realtek drivers on the official Realtek website, then download and install them on your PC.
Before downloading, make sure you know what kind of Realtek device you have and that the driver is compatible with your computer (Windows 7, 8, or 10).
Update Your Network Drivers
Updated drivers help your computer perform better and protect your computer from viruses. To update your Windows 10 network driver manually, follow the steps below:
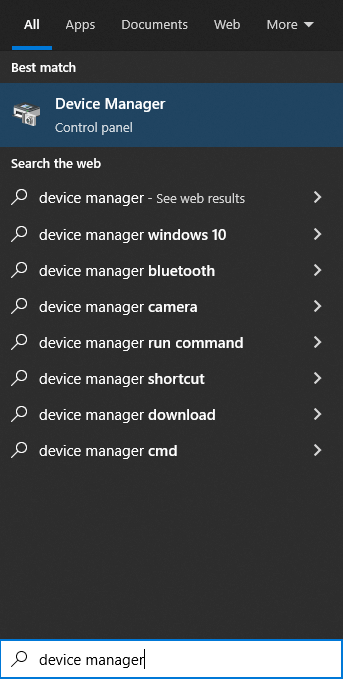
Step1: Right-click on the Windows Start button and click on Device Manager.
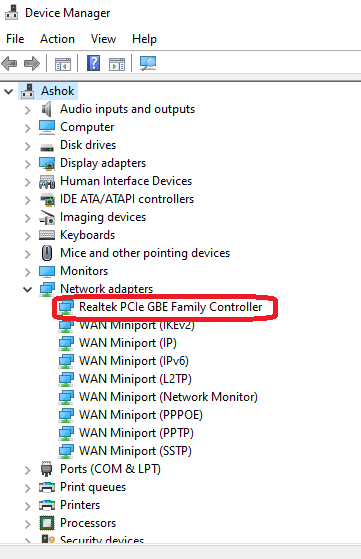
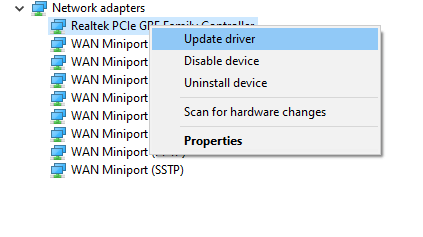
Step2: Expand the Network Updater option and right-click on the Realtek Wifi adapter
Step3: After right-clicking on the Realtek Wifi adapter, select Update Driver
Step4: A new window will appear. Choose “Search automatically for drivers.”
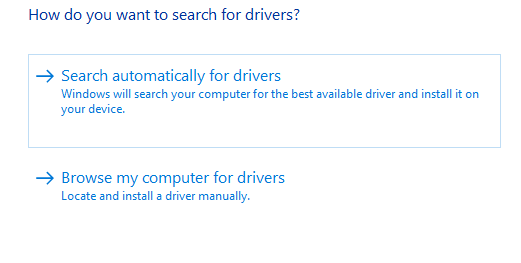
Now, your computer will find new drivers online and install them automatically. Restart your computer after the process is finished.
Note: This method only works if you have an Ethernet cable connection.
It takes a long time and is very stressful to update drivers one by one manually. If you want to do it with just one click, you can always get third-party driver updater apps to make your job a lot easier. Here are a few of the best apps for updating your driver:
- Driver Easy
- Bit Driver Updater
- Ashampoo Driver Updater
- Driver Booster
- Quick Driver Updater
Use Network Troubleshooter
Network troubleshooting helps you improve your network connection and increase the internet speed. Follow the steps below to use the network troubleshooting tool:
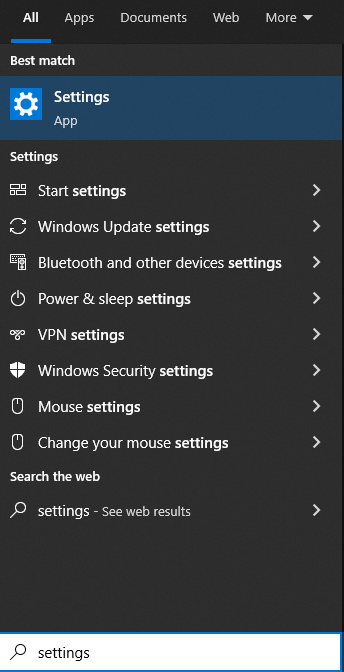
Step1: Search Settings in the toolbar and press Enter
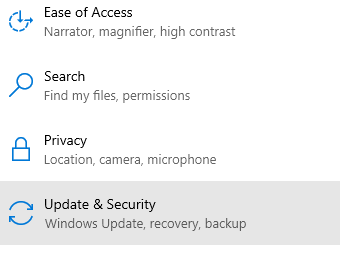
Step2: Select Update & Security from the list

Step3: Choose Troubleshoot from the left-side panel and click on Additional Troubleshooters
Step4: Click on Internal Connections and click on the “Run the troubleshooter” button
Step5: Follow the on-screen instructions to finish the process
Step6: Now, restart your computer and check that the issue is gone or not
Reset Your PC’s Network Adapters
Resetting the network adapter can be very effective but keep in mind that this procedure will erase saved Bluetooth connections and Wi-Fi passwords. So note down the settings and passwords before applying the below steps:
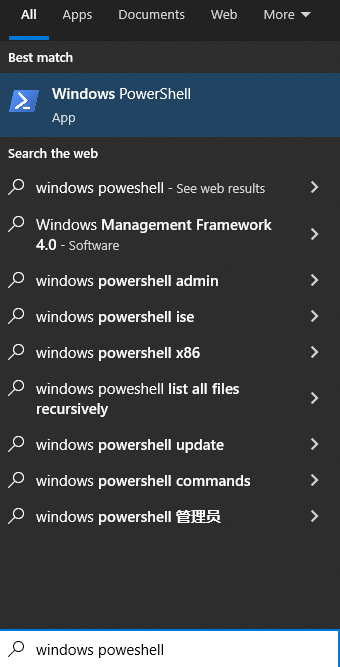
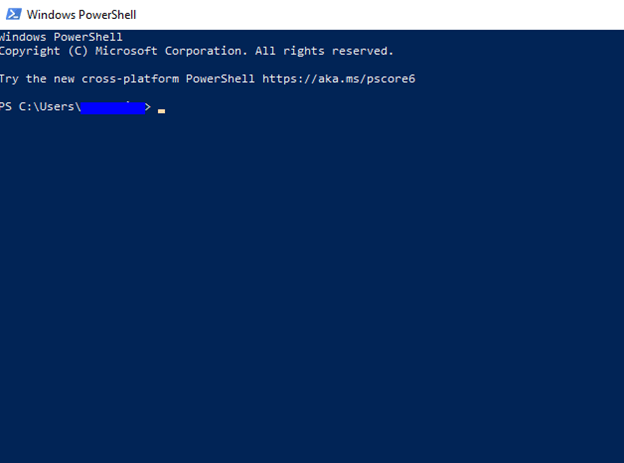
Step1: Search for Windows PowerShell in the toolbar and press Enter
Step2: Type the following lines mentioned below and press Enter after each line:
netsh winsock reset
netsh int ip reset
ipconfig /release
ipconfig /renew
Step3: Restart your computer and see whether you are able to connect to Realtek Wifi now.
Change Adapter Setting
The default mode for network adapters in Windows is to get an IP address automatically. If you have updated this setting, you can change it back. To Change the Adapter Settings in your Windows 10 PC, follow these instructions:
Step1: Open Control Panel by searching it on the toolbar
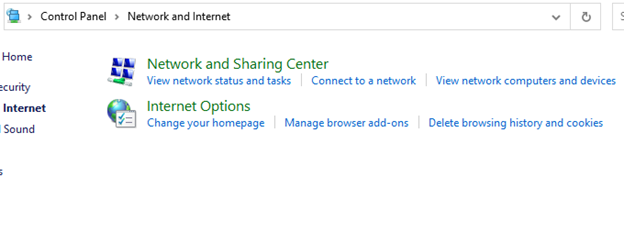
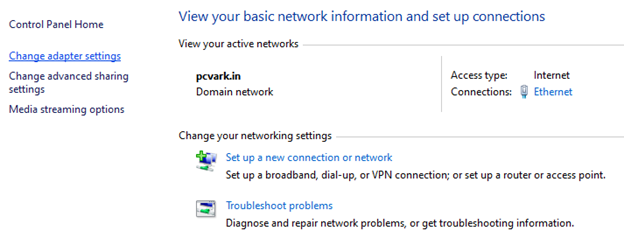
Step3: Click on the Change Adapter settings on the left side of the page
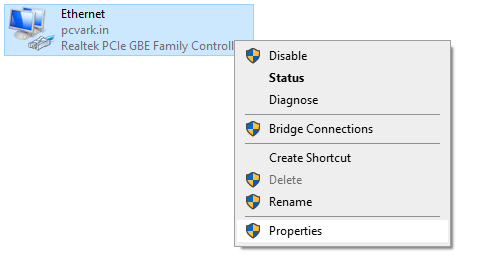
Step4: Right-click on the wireless adapter and choose Properties
Step5: Search for Internet Protocol Version 6 (TCP/IPv6) in the options and uncheck IPv6
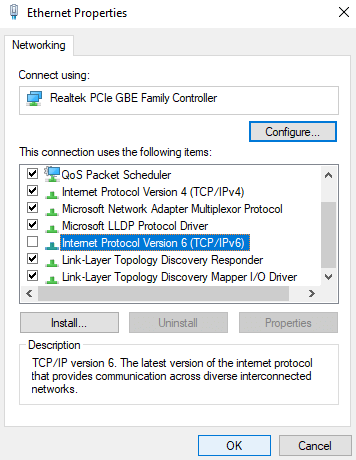
Step6: Click on OK to save the changes and restart your computer to imply the changes you made.
Reinstall The Windows Network Adapter
Reinstalling the Windows network adapter will help you fix your internet connection problems as it will reinstall with a new updated version. Here’s how you can do it:
Step1: Open Device Manager by searching it in the taskbar’s search bar
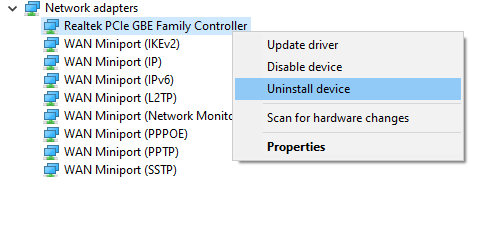
Step2: Expand the Network Adapter option
Step3: Choose your network adapter (Realtek) and right-click on it, then click on the Uninstall device option
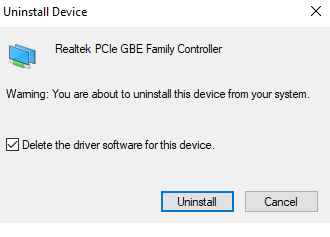
Step4: A pop-up window will appear over there. Click on “Uninstall” to confirm the command.
Step5: Restart your computer and then the required adapter driver will be installed on your PC automatically
Conclusion
If you can’t fix your Realtek wifi adapter issue, you need to change the adapter or visit your nearby repair shop. Because there might be a hardware issue with the adapter. We hope your adapter issue is resolved using these methods. Please mention suggestions in the comment section if you have any.


